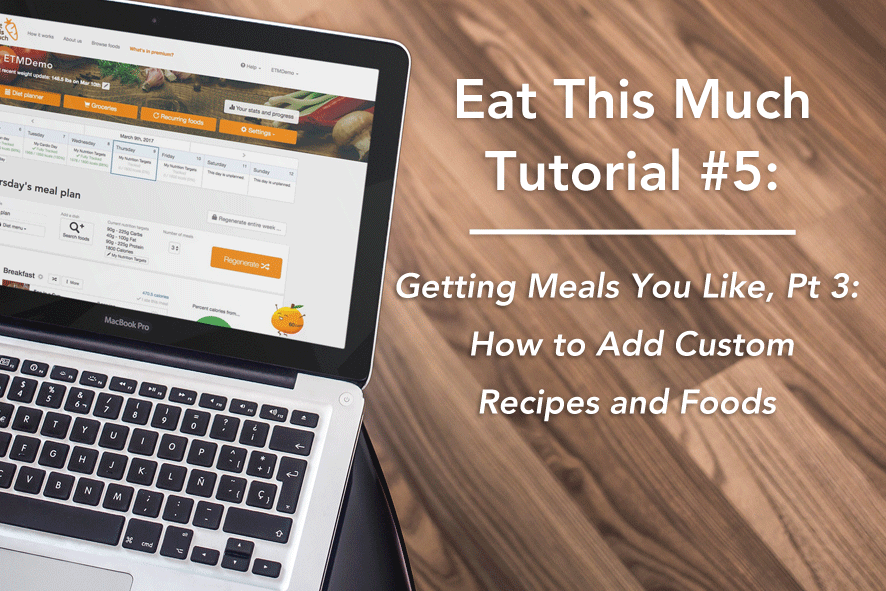
 Sooner or later, you’re going to want to track a food that isn’t in our database. Whether it’s your Aunt Judy’s famous mac and cheese or that spiffy new protein bar you just discovered, we want to make sure everything you want to eat can be tracked. This is where adding custom recipes and foods to Eat This Much comes in handy. Here’s how to do it:
Adding a Custom Recipe
Note: A recipe’s ingredients must all be basic foods, but those basic foods can be custom foods if you want to create custom ingredients.
There are two ways to open up a new custom recipe page; from your planner home and from the Recipe & Foods Browser.
On Your Computer:
Step 1A, Using the Search Foods button: From your home page, click on the “Search Foods” button at the top of your day’s meal plan. This will open the sidebar Food bank menu. The click the “Custom Recipes” link, followed by the “+ Add new recipe” button. This will open up a new recipe page.
Step 1B, Using the Food & Recipe Browser: From your home page, click on the “Browse foods” link at the very top of the page. When the Food & Recipe Browser opens, click on the “+Create a recipe” button on the left hand side to open up a new recipe page.
Step 2: Now that the new recipe page is open, you can add an image, enter the recipe title, description, prep time, cook time, number of servings, what the quantity of a serving size is, and select the most appropriate category. You’ll also be asked to designate the recipe as either a side or main dish, a breakfast food or not, and whether or not the recipe can easily be made for a single serving and if it keeps well.
Step 3: The first way to enter ingredients into a new recipe is to add them as text. Once you add them and click the “Parse” button, review the results and click the “Accept Matches” button to add the ingredient to your list.
Step 4: The second way to add ingredients is to drag them from the sidebar menu. Open the sidebar menu by clicking the arrow in the top left corner of your screen and search for an ingredient. Once you find it, simply drag and drop it into your ingredients list and add notes or adjust the quantity, if you want. You’ll notice that the Recipe stats on the right will update as you go.
Step 5: In the Directions section, start with the first text box and use the “+ Add a direction” button to add a new text box for each step. When you’re done adding directions, click the “Save changes” button to see your finished recipe.
On Your Android or iOS phone, (Android screenshot featured):
Just like on desktop, there are two ways to add a new custom recipe on your phone; from your planner home screen and from the main menu.
Step 1A, Using the home screen plus button: From your home screen, click on the “+” in the top right corner, then click “CREATE” on the following screen. When the choice comes up, choose “Custom Recipe.”
Step 1B, Adding to the Custom Recipes list: From your home screen, click the menu button in the upper left corner and scroll down to “Custom foods/recipes.” On the next page, click the “+” sign in the top right corner, then click “Custom Recipe” on the next prompt.
Step 2: Once you have a new custom recipe page open, fill in the title, description, prep and cook times, the number of servings the recipe yields, the serving size, category, dish type, and if the recipe is good for breakfast,single serving preparation and leftovers.
Step 3: Next, click on the “+Add ingredient+” button to bring up the Food Bank where you can search through the various sections or type in an ingredient directly. Once you find it, click on the “Add +” of the ingredient on the right to add it to your recipe. Once added, click on the recipe to view its nutritional information and adjust the quantity required for your recipe.
Step 4: After adding all your ingredients, click the “+Add direction+” button to enter as many new steps as you need for your recipe. Once you’re done adding the directions, click the “Save” button and your new custom recipe will appear on the next page. From there, you can click on your recipe to edit it.
Adding a Custom Food
The process for adding a custom food is nearly identical to that of adding a custom recipe in terms of navigating both the desktop and phone interfaces. On desktop, simply click the “Custom Foods” option from the sidebar menu, the click the “Add food” button. On your phone, choose the option for “Custom Food” instead of “Custom Recipe” after you’ve clicked into the side menu and selected “Custom foods/recipes.”
It’s important to note that our generator does not automatically use your basic custom foods when building meal plans, but you can add it as a Recurring Food, or as an ingredient in a Custom Recipe. Lastly, when creating your own custom foods, you’ll need to enter the calories and the amount of each macronutrient. This ensures our algorithm can line up the right amount of calories per macronutrient (4 calories per gram carbs and protein, and 9 calories per gram fat.)

