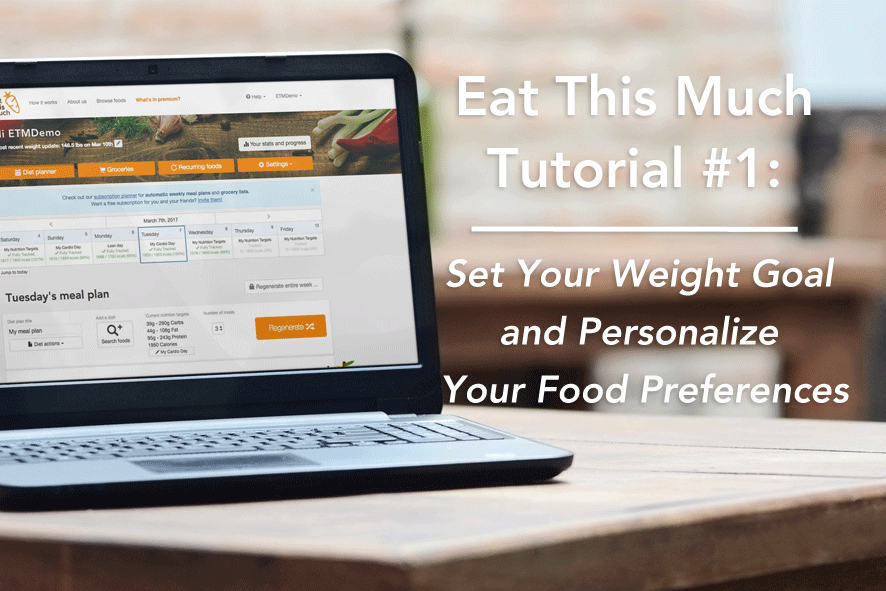
 This tutorial covers two steps you probably already took when you first signed up for Eat This Much, but there are plenty of reasons you’d want to change these settings. Here’s how:
Setting a Weight Goal
(A quick word about choosing your weight goal – Sustainable, healthy weight loss does not happen overnight. The CDC and just about any health professional will recommend losing no more than 1 lb or about .5 kg per week. Doing so will help you keep it off longer and avoid gaining it back. Ask your doctor about it before you start just to be safe.)
On Your Computer:
Step 1: From the home page, click on that little “edit” pencil in the top left corner next to where it shows your “Most recent weight update.”
Step 2: In the window that opens, click on the “Want to set or update your weight goal?” link, enter your new weight goal, and then click the “Update weight goal” button before closing.
On your Android or iOS phone, (Android screenshot featured) updating your weight goal looks like this:
Step 1: From the Planner Home screen, click the menu button in the top left hand corner to bring up all your options. Then scroll down and click on the “Update weight/goal” option.
Step 2: On the following screen, enter a new weight goal, click done, then scroll down to see your “Recommended changes for… ” your Nutritional Profile. Once you’re done making changes, click the “Apply Changes” button to update your new weight goal.
Personalize Your Food Preferences
While you’re changing your diet, your tastes might change. You might suddenly find blueberries awful or discover that you LOVE brussel sprouts after trying a new recipe. Changing your Food Preferences to make ensure your meals reflect your tastes is easy. Here’s how:
On Your Computer:
Step 1: From the home page, click the “Settings” button on the right, followed by the “Food Preferences” option. This will reveal your Food Preferences page. At the top, in the “I want to eat…” section, you can update your “Primary diet type” selection and see “Recommended macro changes for…” your Nutritional Profiles.
Step 2: In the next section, you can refine for “Allowed substitutions” and adjust your daily grocery budget.
Step 3: From there, scroll down to the “I don’t want to eat…” section to add or remove specific foods and food groups from your meal plans. This can be done by typing it in the “Exclude keywords” field or by clicking on a food/food group in the lists below. If there isn’t a suggestion that already exists, you can type in any keyword and it will exclude recipes that match the keyword, either in the recipe name or list of ingredients. These changes will be reflected when you go back to the Diet Planner page and hit the “Regenerate” button.
On your Android phone, changing your Food Preferences looks like this:
Step 1: From the Planner Home screen, click the menu button in the top left hand corner to bring up all your options. Then scroll down to the Food Preferences option. Then click anywhere in the “I WANT TO EAT…” section. Here you can update your “Primary diet type,” your list of Allowed Substitutions, and the see your list of “Recommended macro changes” for your Nutrition Profiles. When you’re done, scroll down to the “Apply changes” button to save it.
Step 2: From the Food Preferences screen, tap anywhere on the “I DON’T WANT TO EAT…” section to bring up your list of excluded foods and food groups. Clicking on a food under “EXCLUSION SUGGESTIONS” will add or remove it from your list. You can also type a food in manually to add it to your list of foods you don’t want to eat.


